Architectural lighting design is the process of shaping how a space is seen, experienced and used after daylight fades. It combines creative intent with technical engineering: the lighting must reveal the architecture, support visual tasks, control glare, meet project requirements and remain practical to install and maintain.
A successful result is not created by selecting attractive luminaires at the end of a project. It begins with the architecture and develops through coordinated design, calculations, product selection, control strategy, installation and commissioning.
What Does an Architectural Lighting Designer Do?
An architectural lighting designer studies the building, materials, circulation, furniture, landscape and intended use of every area. The goal is to determine where light should come from, what it should reveal and how it should change for different activities or times of day.
The designer also coordinates technical requirements such as illuminance, beam angle, colour temperature, colour rendering, glare control, dimming, driver compatibility, mounting details and emergency-lighting interfaces.
Step 1: Understand the Architecture and Project Brief
The process starts with drawings, elevations, reflected ceiling plans, interior concepts and discussions with the client and design team. Before selecting fixtures, the lighting designer needs to understand:
- The purpose and operating hours of each space
- Important architectural features, materials and finishes
- Furniture layouts and task locations
- Ceiling types, recess depths and access limitations
- Daylight, orientation and exterior conditions
- Client expectations, budget and maintenance priorities
In villas, hotels and commercial projects, this stage also establishes the desired atmosphere and the hierarchy between general, task, accent and decorative lighting.
Step 2: Develop the Lighting Concept
The concept translates the architecture into layers of light. Instead of treating every luminaire equally, the designer creates visual priorities: brighter areas attract attention, concealed light can reveal form, controlled accent lighting adds depth, and lower ambient levels can make a space feel more refined.
A clear concept explains the role of light in each area before exact products are chosen. Read our guide to lighting layers for a detailed explanation of ambient, task and accent lighting.
Step 3: Select Appropriate Lighting Techniques
Different architectural conditions require different techniques. Common examples include:
- Wall washing: creating a smooth, uniform brightness across a vertical surface
- Grazing: placing light close to textured stone, timber or concrete to emphasise relief
- Accent lighting: focusing attention on artwork, displays, columns or landscape features
- Indirect lighting: reflecting light from ceilings or walls for a softer visual effect
- Task lighting: providing suitable light for reading, cooking, work or service areas
- Façade lighting: revealing mass, rhythm and material without excessive brightness
The correct technique is more important than simply increasing wattage or adding more fittings.
Step 4: Perform Lighting Calculations
Lighting calculations help verify that the concept can meet functional requirements. A professional study may assess illuminance, uniformity, glare, daylight contribution and emergency-lighting performance where relevant.
Calculation results should guide the design rather than replace visual judgement. Surface reflectance, luminaire aiming, furniture and real installation conditions can all influence the final result.
Step 5: Specify Luminaires, Optics and Drivers
Product selection should be based on performance and application—not appearance alone. Important criteria include:
- Lumen output and system power
- Beam angle and optical control
- Colour temperature and consistency
- Colour-rendering performance
- Glare control and visual comfort
- Ingress protection for exterior or wet areas
- Driver quality, flicker performance and dimming protocol
- Installation dimensions, access and heat management
- Warranty, documentation and long-term availability
NORIX supports this stage through project-based lighting supply, technical evaluation and compatibility checks.
Step 6: Design the Lighting Control Strategy
Control should be planned together with the lighting circuits. A scene may combine several layers at different levels, while occupancy and daylight logic can reduce unnecessary operation in appropriate areas.
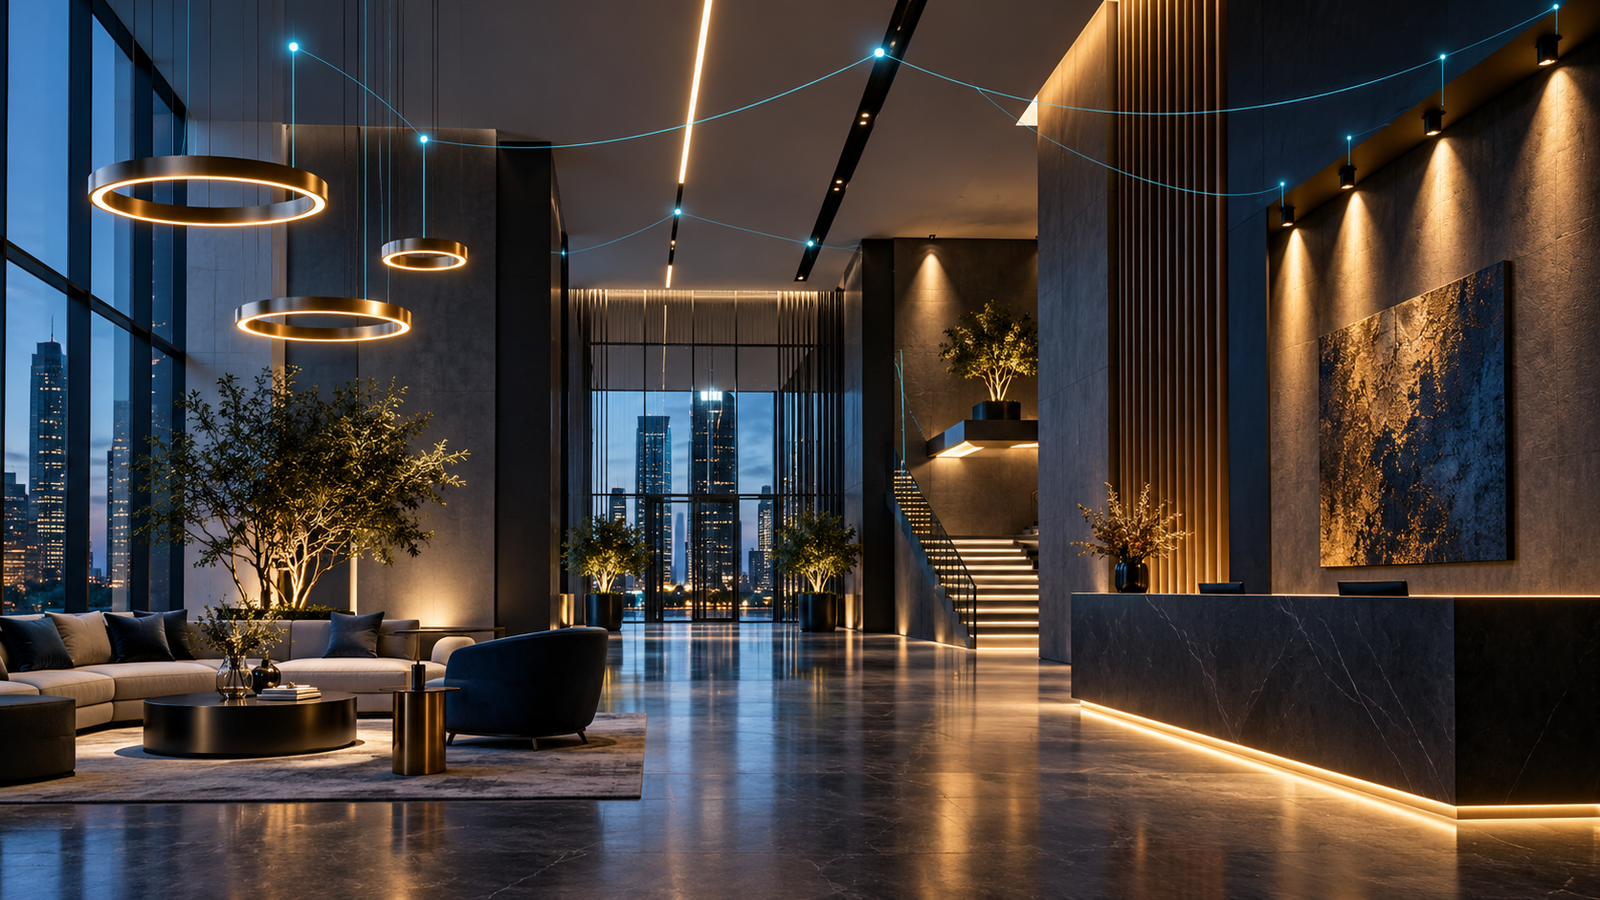
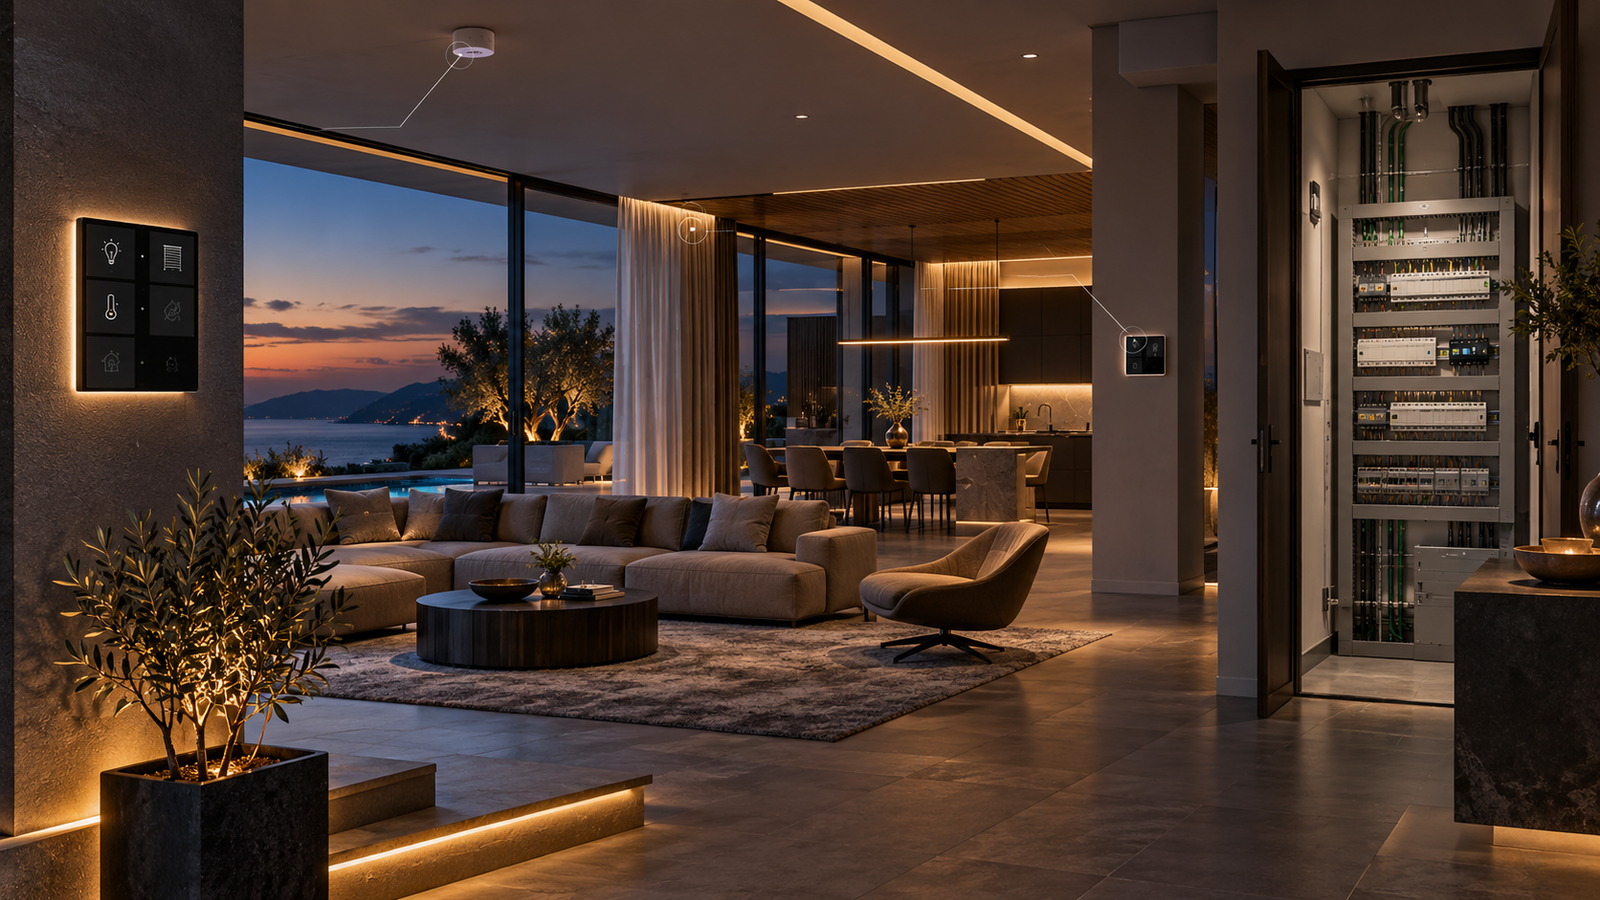
Depending on the project, control may use conventional switching, phase dimming, 0–10V, DALI, KNX or an integrated KNX/DALI architecture. The choice depends on scale, required flexibility, feedback, colour control and integration with other building systems.
For deeper guidance, compare KNX, DALI and Zigbee and review why DALI is more than dimming.
Step 7: Coordinate Drawings and Construction Details
Lighting layouts must be coordinated with ceilings, sprinklers, air-conditioning grilles, access panels, joinery and structural elements. Details for coves, linear profiles, recessed channels and façade fixtures should be resolved before construction closes access.
A coordinated package normally includes fixture references, circuiting, control zones, mounting details, schedules and relevant technical notes.
Step 8: Review Samples and Mock-Ups
Samples and mock-ups allow the team to evaluate beam quality, colour temperature, glare, material interaction and dimming performance before full installation. They are particularly valuable for decorative ceilings, stone façades, wall washing, linear lighting and custom details.
Step 9: Installation, Aiming and Commissioning
Even a strong design can fail if luminaires are installed, aimed or programmed incorrectly. Final commissioning should include checking circuit assignments, dimming behaviour, scene levels, colour consistency and control responses.
Adjustable luminaires should be focused on site after furniture, artwork and landscape elements are in position. Learn more about our installation and commissioning process.
Common Architectural Lighting Mistakes
- Choosing luminaires before defining the lighting concept
- Using one colour temperature without considering materials and function
- Over-lighting every surface and removing visual contrast
- Ignoring glare from downlights and linear fixtures
- Designing coves or profiles without access and heat management
- Confirming dimming protocols too late
- Leaving scene setting and aiming until after handover
Architectural Lighting Design in Oman
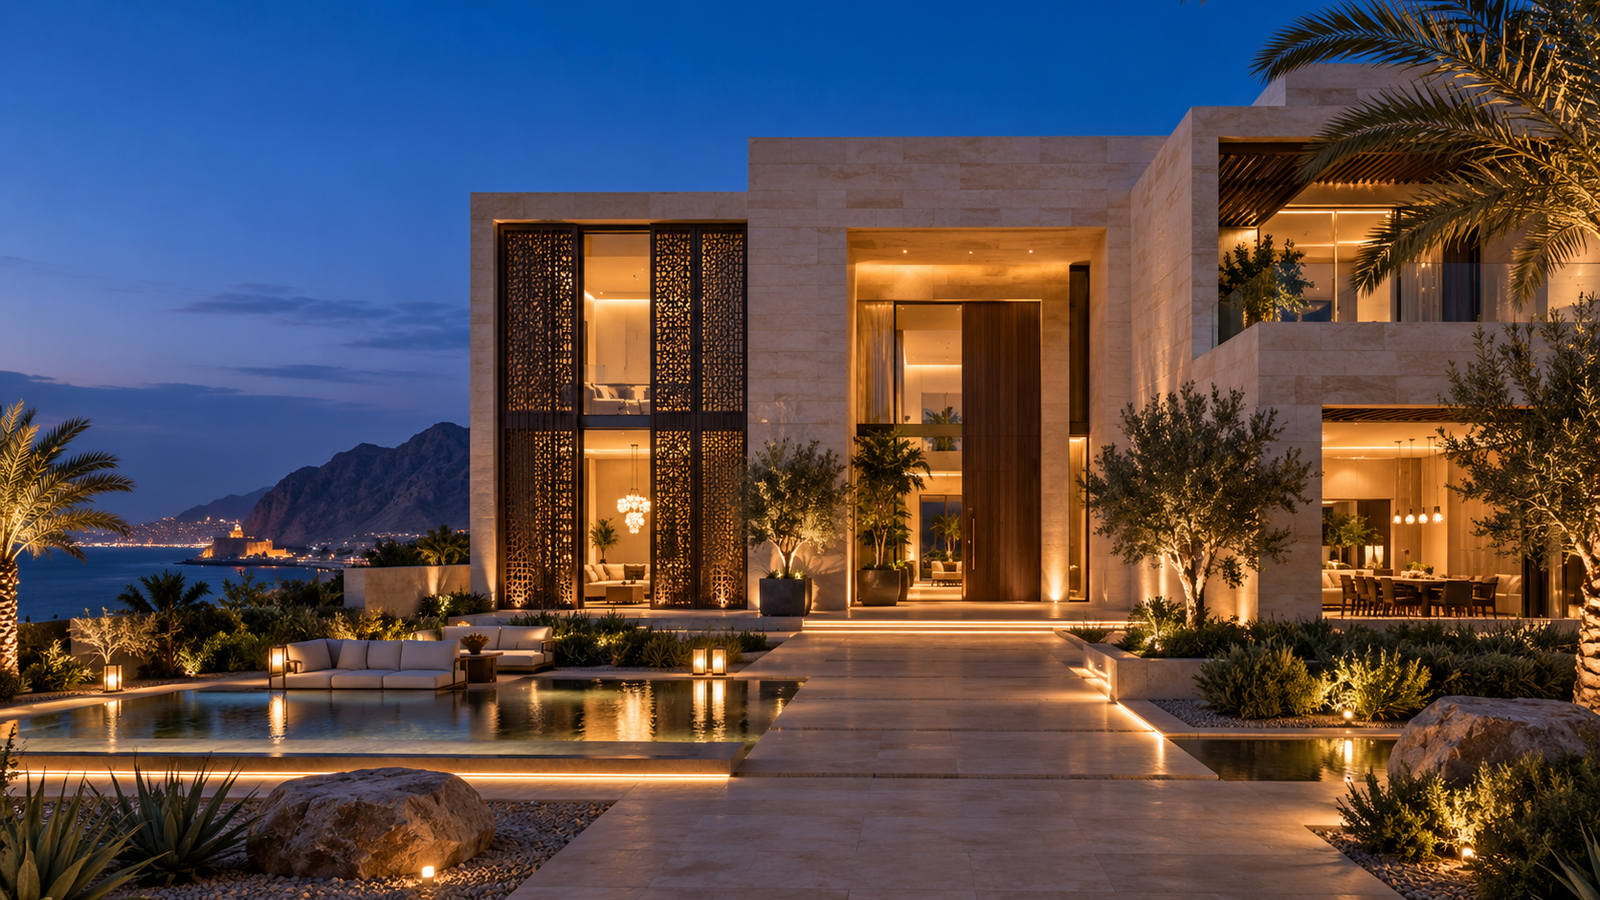
Projects in Oman require careful attention to exterior heat, dust, coastal conditions where applicable, façade materials and the relationship between indoor and outdoor spaces. Villas and hospitality projects also benefit from coordinated landscape, façade and interior lighting so that the property reads as one composition at night.
Product specifications and installation details should always match the actual site environment and maintenance capability.
Final Recommendation
Architectural lighting design is a complete process—from understanding the architecture to final focusing and commissioning. When concept, engineering, product selection and control are coordinated early, the result is more comfortable, more efficient and more faithful to the design intent.
NORIX provides professional architectural lighting design services in Oman, supported by product supply, KNX/DALI control, installation and commissioning. Contact NORIX to review your project drawings before the lighting and ceiling layouts are finalised.